
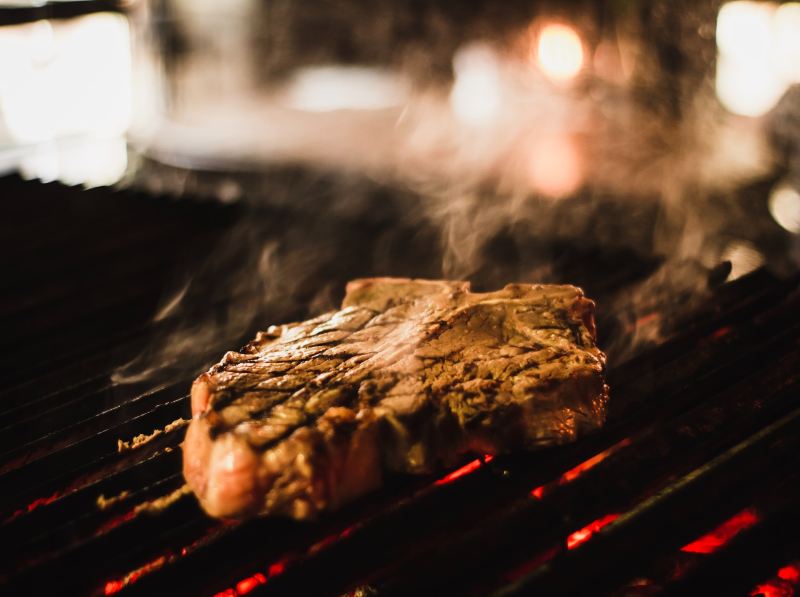
Let’s be honest — when it comes to grilling, a lot of the fun is in the show. It just wouldn’t be a proper backyard barbecue without all the hubbub that comes once that grill is ignited. The sounds, the smells, the caveperson astonishment and pride when it comes to all things fire-related. The whole thing is rather dramatic. And part of putting on a good show is, of course, a picture-perfect, Instagram-worthy, beautifully charred, and cross-hatched piece of meat. Be it a steak, pork chop, burger, or eggplant, no grilled entree is complete without the cosmetic upgrade of gorgeous grill marks.
Chances are, though, if you’ve ever attempted these beautifully blackened lines in your backyard, you know just how tricky they can be. So you may have just tossed in the tongs and forgotten the whole thing. And who could blame you? The truth is that grill marks don’t make a huge difference in flavor. With all the cooking methods, tricks, and techniques used today, the technique of how to make grill marks is actually something of a lost art. But damn, they’re sexy. And if you can get them just right, you’ll be sure to impress your guests at your next cookout. So we’re here to help with a few tips and tricks for how to get those perfect steak grill marks and make your barbecue show one worth watching.
How to make perfect grill marks
The preparation:
- The first step is to be sure your grill grates are clean. Clean lines are born from clean grates, so be sure you’ve given them a good brushing before lighting up.
- Grease your grill. Depending on what you’re cooking, the grease (oil, butter, pan spray, etc.) can be applied directly to the grates, to the food itself, or both. The biggest enemy of good grill lines is sticking, so lube up.
- Grill marks are born from a good sear. Good searing happens on high heat, so make sure your grill is nice and hot before placing your meat on the grates. You’ll want your temperature around at least 500F. Preheating is also important to make sure the heat is evenly dispersed.
The grilling:
- A simple trick is to think of your grill grate as a clock. The times you’ll need to keep in mind for perfect grill marks are 10 and 4 and then 2 and 8.
- Place your meat on the grill with its ends at 10 and 4 o’clock. Allow the meat to sear without moving it around on the grates until it comes away easily. If there is any resistance when you go to move it, it has not yet properly seared, and you should wait another few moments.
- When the meat releases easily from the grates, turn it 45 degrees so the ends are now at 2 and 8 o’clock. Once this side has finished searing, you’ll be left with a perfect diamond pattern on this side.
- Flip the meat over and repeat the process. Depending on your ingredient, the second side will likely take less time to cook than the first, so take that into account when cooking.
Making grill marks without a grill
The visual of seared grill marks on a piece of meat is mouth-watering, but what if you don’t have a grill? After all, apartment dwellers in the big city want to see those grill marks on their meat, too. Well. fortunately, there are ways to get that fresh-off-the-grill look without the use of an open flame. Read on for more.
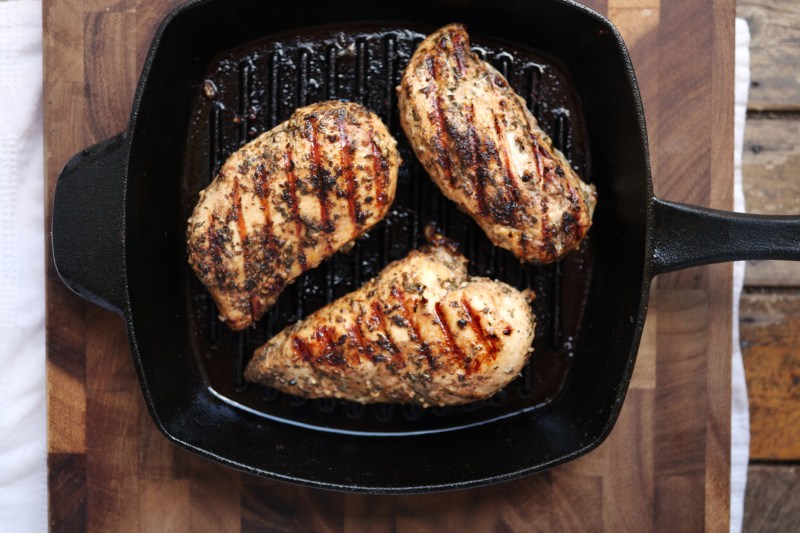
Use a grill pan
The simplest method to get those grill marks when you are cooking indoors is to invest in a quality cast iron grill pan like the one pictured above. These pans have raised ridges instead of a smooth cooking surface, perfect for creating grill marks. Just get the pan nice and hot and cook your meat in a similar fashion to how you would on the grill. Rotate the meat per the instructions above, and you should have a visually pleasing meal.
There is another method to get grill marks, but it’s a labor-intensive way, and you’d be better off investing in a grill pan, trust us. But if you are stuck with no grill and no grill pan, you could always fake grill marks by heating a metal skewer over the stovetop burner flame (use oven mitts for this — it will get very hot) and then press the skewer onto the food to create marks.
Editors' Recommendations
- The best fried chicken recipe you will ever make
- The secret to gauging meat tenderness is easier than you think
- How to grill the steak of your dreams: An aspiring steak master’s guide
- This is the best wood for grilling and smoking, according to an expert
- How to make a Dark and Stormy, the rum-centric sibling of the Moscow Mule


