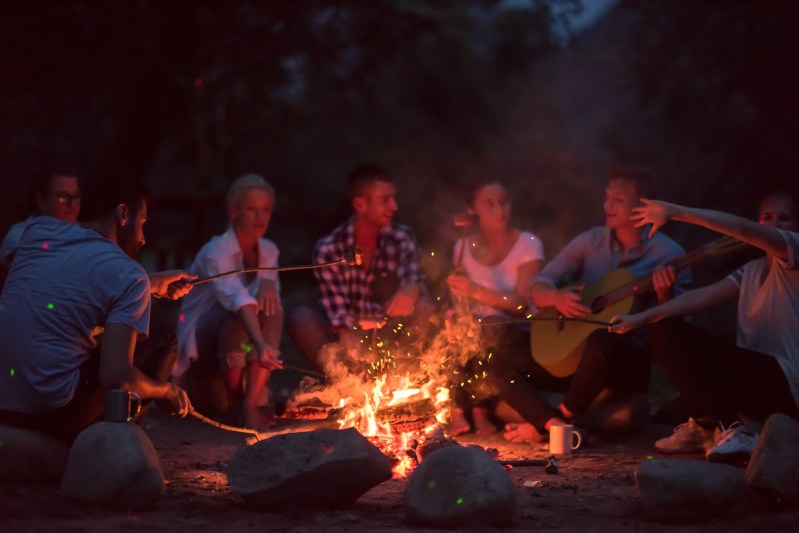
Campfire cooking is an art form. Sure, you can always just skewer a sausage or a s’more and roast it directly over the heat, but with a little camping cooking gear, you can elevate your camp cooking to new heights. With the cooler nights of fall just around the corner, camp cooking becomes even more important, as you’ll need the extra calories to stay warm overnight. There are plenty of styles of campfire cooking to explore, and a suspended pot over your fire is one of the most versatile.
By hanging a pot or a kettle over your fire, you can keep your dish away from direct heat, but retain a rolling boil or a gentle simmer. This means you can always have hot water ready and waiting for a cup of coffee, heat yourself a cowboy casserole of beans and ground beef to pour over a biscuit, or simmer a stew for a substantial meal under the stars.
There are several ways to hang a pot over the fire, from a tripod above the fire to a spit roast-style pole. But when you want to have a fully adjustable pole system, there really is only one style of pot hanger for you. Grab your survival knife, get some sticks, and start whittling your own campfire pot hanger.
How to make your own campfire pot hanger

First, you need the tools for the job. You need a sharp survival knife, a folding saw, and a pot or kettle suitable for hanging — that’s it.
Step 1: Collect your sticks using your folding saw. You will need one long stick for suspending your pot hanger, one shorter stick, ideally with a hook at the base for hanging your pot from, and two Y-shaped sticks to act as the rest and the pegs. For cooking, you would ideally use green sticks as they will be less susceptible to burning, but for practicing this, you can use drier sticks, rather than cutting live trees.
Step 2: To create the notches in your hanging stick to adjust the height, first carve three V-shapes into the stick, facing down toward your pot hanging arm. These should be on the same side of the stick as your hanging arm, otherwise, your pot hanger will unbalance and fall.

Step 3: Carve out the bottom, and either side of the Vs that you have carved. You should be left with an upward, diagonal groove in the stick and an overhang — often referred to as a beak.

Step 4: Repeat this three times to give you three heights — or heat settings — on your hanger. If your chosen stick does not have a branch that you can use as a pot hanger, carve another of these up the other way at the base of the stick to hang your pot from.

Step 5: Carve the end of your long stick until it is flat. This should slot into the grooves you have just carved in your hanging stick and fit neatly under the beak. This will form your hanging system.

Step 6: Sharpen the base of your Y-shaped stick so it can be pushed into the ground. This stick will form a rest for your suspension pole.

Step 7: Next, carve the ends of a smaller Y-shaped stick to a point. This still will act as a peg system, holding the end of your long stick into the ground when the weight is suspended from the other end.

Step 8: Assemble your pot hanger. Stick the rest into the ground next to your fire pit and position your long stick on it so that the end is just above and just beside the heat. Pin the other end of your long stick into the ground. Once this is secure, hang your pot from the end of your pot hanger and use the notches to move it closer or further from the heat.
Campfire cooking recipes (with a pot)

Above, we mentioned a few things you can cook with your pot, but below, we’ll give you more specifics on how to make some delicious campfire meals with your hanging pot.
Campfire chili
Saute ground beef with chopped onions and garlic in your pot. Drain the fat and then add canned beans (kidney, black, or pinto), diced tomatoes, chili powder, cumin, and beef broth. Simmer until thickened and flavorful. Serve with your favorite toppings like shredded cheese, sour cream, and chopped onions.
Cheesy sausage and potato skillet
Brown sliced sausage in your pot. Add diced potatoes, chopped onions, and peppers. Cook until the potatoes are tender. Season with salt, pepper, and your favorite herbs. Stir in shredded cheese and cook until it’s melted.
Campfire oatmeal
Combine rolled oats, water or milk, and a pinch of salt in your pot. Bring to a boil and then reduce the heat and simmer for a few minutes until the oats are cooked through. Serve with your favorite toppings, like fresh berries, chopped nuts, a drizzle of honey, or a sprinkle of brown sugar.
Skillet eggs with hash browns
Heat some oil in your pot. Dice some potatoes and cook until golden brown and crispy. Push the potatoes to one side of the pot and scramble some eggs in the empty space. Season with what you like. Serve together with shredded cheese and chopped tomatoes.
Editors' Recommendations
- These are the absolute best golf resorts in the world
- Hitch up with the 7 best off-road trailers ready to take you anywhere in 2024
- 6 RV camper styles perfect for every family and budget
- How to avoid a bison attack this summer (and any time of the year)
- How to fell a tree with an axe – the steps and tips you need


