Grocery shopping is something we all have to do whether we like it or not. Even with the prevalence of food delivery services, shopping for fresh produce is usually something you have to do yourself — at the store. The problem with fresh produce is that it doesn’t stay fresh very long. People have been trying to figure out how to preserve produce for decades, and there have been some good inventions created. However, the key to long-lasting produce is knowing how to correctly store each vegetable and fruit you have. Not all produce is going to thrive in that crisper drawer in your fridge, no matter how many settings it has. If you’re interested in making fewer trips to the grocery store and saving money, read on to gain some produce knowledge.
Where to start
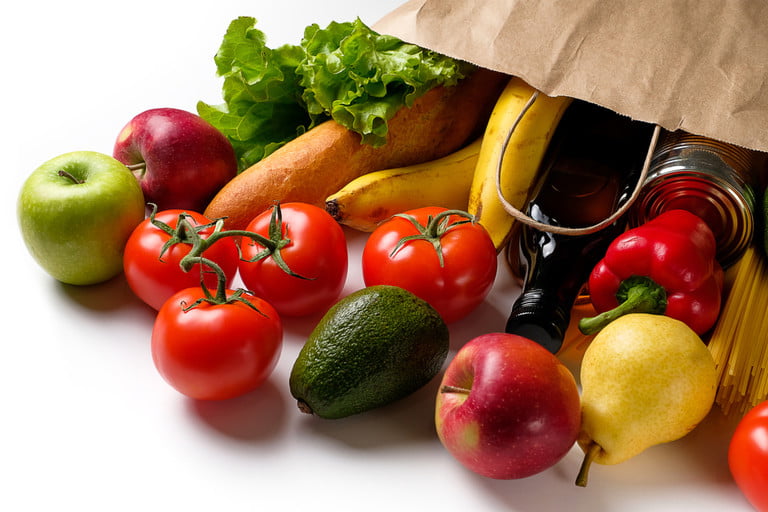
Beginning with the freshest fruits and vegetables is the first step to getting the longest life out of your produce. The signs that a particular veggie is fresh vary from item to item, so it can take a while to learn what to look for with each fruit you buy. Root vegetables like squash, onions, beets, cabbage, etc., should be heavy for their size, and leafy greens should be brightly colored and not have any limp leaves or stems. Avoid fruits and vegetables with blemishes or soft spots, and take care when transporting your bounty, so you don’t damage anything in transit.
Three conditions to consider
When you get your as-fresh-as-possible fruits and veggies home and considering where and how to store them, you must think about three things — airflow, temperature, and ethylene. While a lot of produce does well in the refrigerator, some items such as garlic, potatoes, and onions are best left at a cool room temperature.
Ethylene
Some fruits (like apples and bananas) naturally produce ethylene gas, and some types of produce are sensitive to ethylene (like lettuce, broccoli, and any leafy green). So, regardless of whether you refrigerate these types of items or not, the best approach is to keep the ethylene-emitting things away from the ethylene-sensitive ones.
Air circulation and temperature
Air circulation is crucial for produce that keeps best at room temperature. Plastic bags will cause your produce to spoil quicker, even if it is perforated. As a general rule, the more airflow, the better for your bananas, onions, and potatoes.
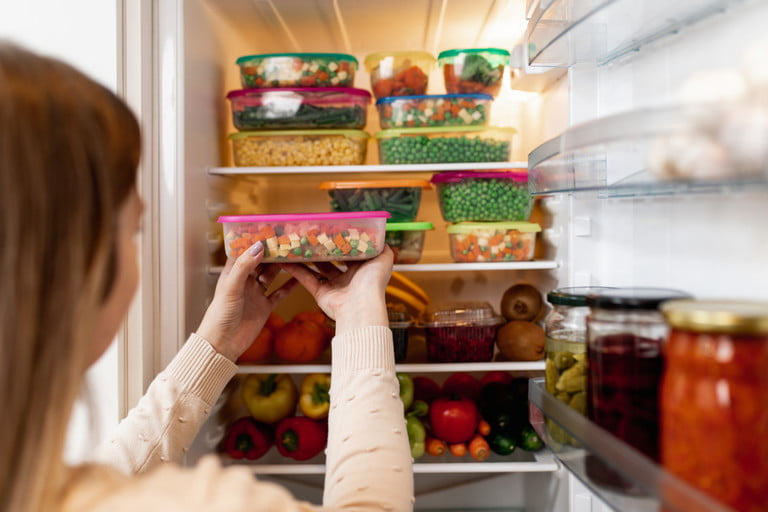
On the other hand, produce that succeeds in the fridge tends to do better when sealed from fresh air. Zip-top bags, containers with tight lids, and reusable silicone pouches are all great ways to keep fresh produce fresh longer. These containers all keep moisture in, which prevents produce from dehydrating, and they protect from the effects of ethylene gas.
Apples and pears
Refrigerate in a plastic bag in the crisper drawer with other fruits that are not ethylene-sensitive. These include blueberries, strawberries, and oranges. Though you’ve probably seen plenty of movies and paintings with bowls of apples on perfectly set tables, apples turn mealy and mushy when left at room temperature. Once they are harvested, apples prefer the cold, and manufacturers store them at near-freezing temperatures to ensure crispness year-round. So, the coldest corner of your fridge is the best place for your apples. If you don’t know the temperature zones in your fridge, now may be a good time to invest in a thermometer and learn them.
Leafy greens
Refrigerate leafy greens, unwashed, in zip-top plastic bags. Hearty greens like kale, watercress, and endive will last for up to two weeks in the fridge when stored properly. Moisture is the enemy of leafy greens, which is why we recommend washing them before use rather than before storing. If you like to clean and prep ahead of time, place a few pieces of paper towel inside the bag, and it will absorb any excess moisture. Lettuces such as bibb and romaine won’t last as long as the heartier greens mentioned above, but they will keep for about a week if you follow these steps.
Potatoes
Store in a cool, dark place (not the refrigerator) with high humidity and good airflow. Keep separate from bananas, onions, and other ethylene-producing items. Regardless of the variety of potato, waxy or starchy, they prefer cool, dark places. Air-conditioned pantries or cellars are great places for potatoes. Temperature is vital for potatoes — too warm, and they sprout and decay, and too cold, and they convert their starches into sugars and brown too quickly when cooked. Regular potatoes should last a couple of weeks in the ideal conditions, while sweet potatoes will only last about a week.
Other root vegetables
Veggies like turnips, carrots, beets, and ginger aren’t picky when it comes to location. As long as you remove any green tops and refrigerate them in a plastic bag, most root vegetables will last for a few weeks. Root vegetables don’t release much ethylene gas, so you can store them next to broccoli and cabbage with no problem.
Though onions and garlic are technically root vegetables, they like opposite things than their cousins above. Keep garlic and onions out of the fridge and store them in a cool, dark place with low humidity. Though this sounds a lot like the place potatoes love, keep onions and garlic separate from potatoes since they like varying degrees of humidity (potatoes like it high and onions and garlic like it low).
All of these timelines are suggestions and estimates. Depending on where you live, how long your produce travels before you bring it home, and several other factors, the life of your produce can vary greatly. If your veggies too limp to eat but not bad enough to throw away, store them in a freezer bag for your next stock. Remember to use your best judgment — if it looks, smells, or tastes bad, don’t eat it!
Editors' Recommendations
- How to store coffee beans: 3 tips to keep your coffee fresh longer
- How to grill the steak of your dreams: An aspiring steak master’s guide
- The classic vodka cocktails you need to know how to make
- 23 easy cocktail recipes you can make at home
- Yes, you can live on a vineyard — check out these dream homes for sale


