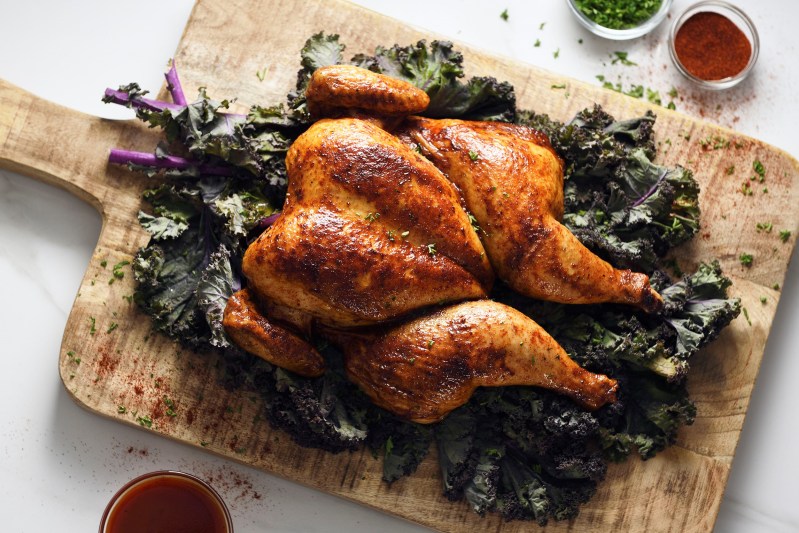
There is something so comforting about rotisserie chicken. Grabbing one from the grocery store or butcher is a fast and flavorful way to make a delicious meal with that home-cooked feel. However, if you aren’t careful when reheating a whole bird it can easily go from succulent to sawdust. For those rare occasions when there’s leftover chicken or you waited too long to dig in, we’ve got the best tips to make sure your pre-cooked poultry stays juicy on the inside and crispy on the outside. Here’s what you need to know.
Related Guides
The Secret: Chicken Broth
The one simple ingredient you need to ensure your chicken stays moist and delectable is a bit of chicken broth. This is your secret guide to reheating rotisserie chicken in the oven.
You’ll need:
- Rotisserie chicken
- Oven safe nonstick pan big enough to hold the chicken and chicken broth
- Chicken broth
Method:
- Preheat your oven to 350 degrees.
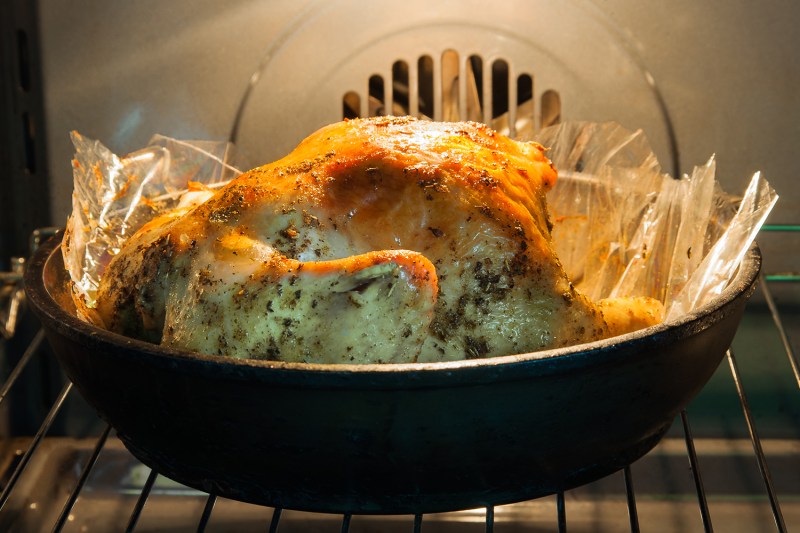
- Take the chicken out of all its packaging and put it into the pan.
- Pour about a cup of chicken broth in the bottom of the pan. You want to cover the bottom of the pan but not submerge the chicken.
- Cover the chicken with foil and put it in the oven for about 25 minutes.
- Remove the foil and allow the kitchen to roast for another five minutes.
- Once it’s done, allow it to sit for a few minutes before digging in.
This is the best way to get a nice finish without that dry taste. It take a bit to prep and cook so just make sure you plan ahead for this one.
Reheat in the Microwave
Yes. The microwave.
You won’t be able to reheat the whole thing, but if you can take the time to cut it into pieces before you store it, you can reheat it quickly.
You’ll need:
- Rotisserie chicken strips
- microwave-safe plate
- damp paper towel
- Take the chicken strips and put them on your plate
- Put your damp paper towel over the chicken (wring the paper towel out until there are no more drips)
- Microwave the chicken for one to two minutes until it’s the temperature you like.
This is a cost-effective and time-effective way to make a rotisserie chicken last longer and perfect for meal prep. The downside is that you don’t quite get the crispy finish that rotisserie chicken is known for, but it can fix your hunger real quick.
Reheat in the Air Fryer
If you have an air fryer, you’re probably obsessed with it (and with good reason). You can also reheat rotisserie chicken there for a crispier take that’s perfect for salads and tacos. Here’s how to reheat rotisserie chicken in the air fryer.
You’ll need:
- Chicken strips
- The air fryer
- Turn your air fryer to 350 degrees.
- Put your chicken strips into the basket.
- Set the timer for three to four minutes.
- Remove and enjoy.
Rotisserie chicken is made for the air fryer. It comes out with a nice crispy finish and tastes great in just about any dish you have. Unfortunately, if you don’t have an air fryer, this isn’t going to work. May we suggest investing in one if rotisserie chicken is on your plate often?
Reheat in the Skillet
For a quick dinner on a weeknight, take out your skillet to reheat your chicken.
You’ll need:
- Chicken strips
- A skillet
- Chicken broth or stock
- Remove any bones from your chicken and cut them into one-inch strips.
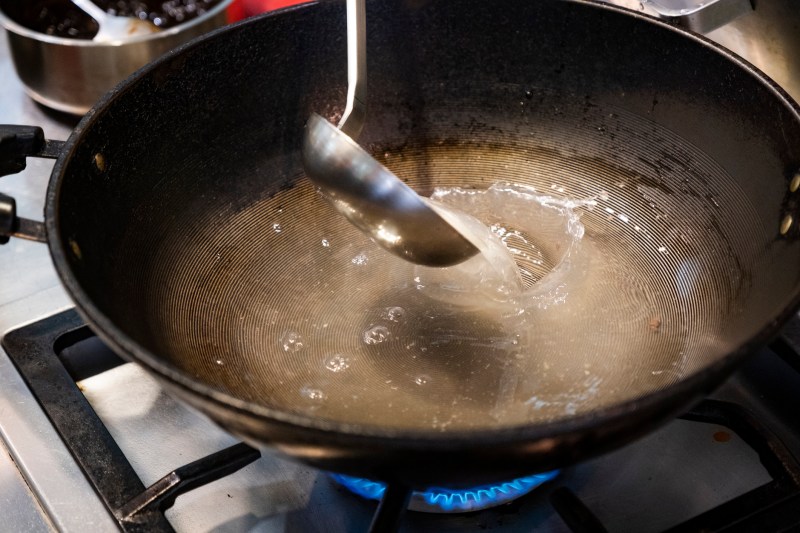
- Add just enough chicken stock or broth to cover the bottom of the pan.
- Heat up on medium until the stock begins to simmer.
- Add chicken strips and lower the temperature a bit, stirring until the chicken is heated all the way through.
Skillet reheating is a good option for fast dinners or lunches when you don’t have a lot of time, but you can’t quite make yourself go for the microwave. The key is ensuring you always have just enough liquid to prevent drying out but not so much that it drowns it.
The best part is that it makes even a simple dish look special because rotisserie chicken comes already flavored and cooked.
Reheat in the Slow Cooker
If you don’t want to mess with anything in the kitchen for a few hours, reheating rotisserie chicken in the slow cooker is the way to go.
You’ll need:
- Rotisserie chicken
- Aluminum foil
- Water
- Wrap your chicken in the foil, making sure that all the seams are on the top.
- Put about a half-inch of water in the bottom of the crockpot.
- Place chicken in the pot, ensuring that no seams are below the water.
- Set your crockpot on low for three to four hours. Check periodically for doneness.
This method is excellent when you don’t have time to mess with kitchen gadgets and want to make sure you have something hot for dinner.
What’s the best way to reheat rotisserie chicken?
That’s not going to be an answer we can give you. Your reheating methods will depend on the dish you’re making and how much time you have. You can use rotisserie chicken in so many ways, even cold. Here are a few of our favorites:
- Tacos: Use the skillet method to reheat your chicken and spoon it into taco shells with tomatoes, lettuce, sour cream, and salsa.
- Sandwiches: Use the microwave method to reheat chicken strips. Toast your favorite bread, add cheese and your favorite condiments.
- Soups: Use your air fryer method to reheat chicken strips. Add to a soup base with veggies to make an out of this world crispy chicken soup.
- Dinner rehash: Reheat the whole chicken using the oven method, but this time slice carrots, zucchini, and onions into thin circles and place underneath the chicken. Cook for 30 minutes and serve together. The vegetables will absorb the juice from the chicken.
- Chicken salad: If you don’t have time to reheat anything, take strips of your chicken straight from the fridge and put them on a bed of greens with cheese, croutons, and your favorite dressing.
Cooking with Rotisserie Chicken
Buying a rotisserie chicken is a great way to help make mealtimes simple. Your chicken is cooked and flavored, reasonably priced, and you can toss it into a number of dishes. You’ll never get bored. Buy one rotisserie chicken at the beginning of the week and use these tips to eat all week long. It’s going to be a game-changer for your meal planning.
Editors' Recommendations
- 5 ways to reheat chicken wings without losing their flavor and texture
- How to Cook Up the Crunchiest Southern-Style Buttermilk Fried Chicken
- How To Reheat Fried Chicken So You Can Savor Its Crispy Delicious Goodness
- How to Reheat Steak the Right Way
- How to Reheat Pizza the Best Way


