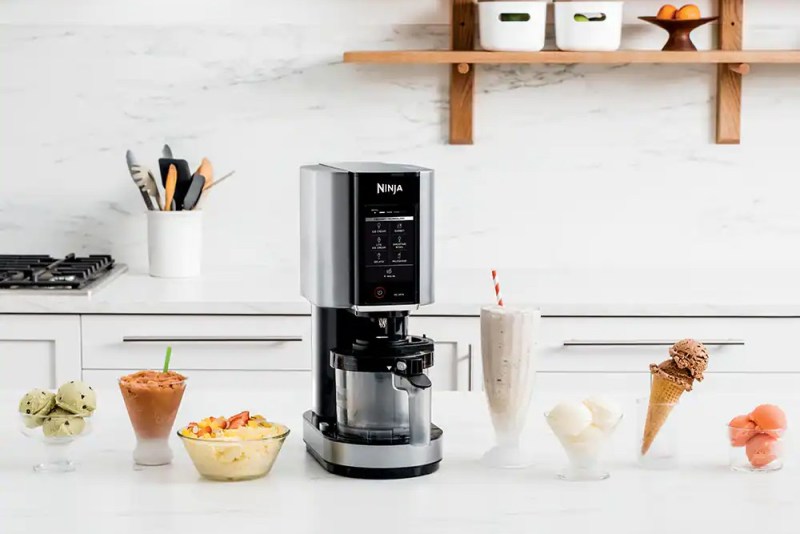
Typically, ice cream is reserved for the spring and summer – OK, maybe the fall too. Fine. Fine. Year-round. Seriously though, I do love good ice cream, particularly pistachio. That is why when the folks over at Ninja Kitchens wanted me to test out their new Ninja CREAMi ice cream maker, I couldn’t resist.
Think about it. Homemade ice cream whenever you want it! You don’t have to worry about additives, preservatives, or any of the other chemicals you can’t pronounce or don’t want. You can make frozen treats such as gelato, sorbet, custard-based ice cream, or even low sugar desserts. I made so much ice cream that I had to take a break!
What Comes with the Ninja CREAMi Ice Cream Maker?
- Ninja CREAMi Motor Base with Dual-Drive Motors and Creamify Technology to turn just about anything into a frozen treat.
- Creamerizer Paddle that shaves and churns the creamiest frozen treats in minutes
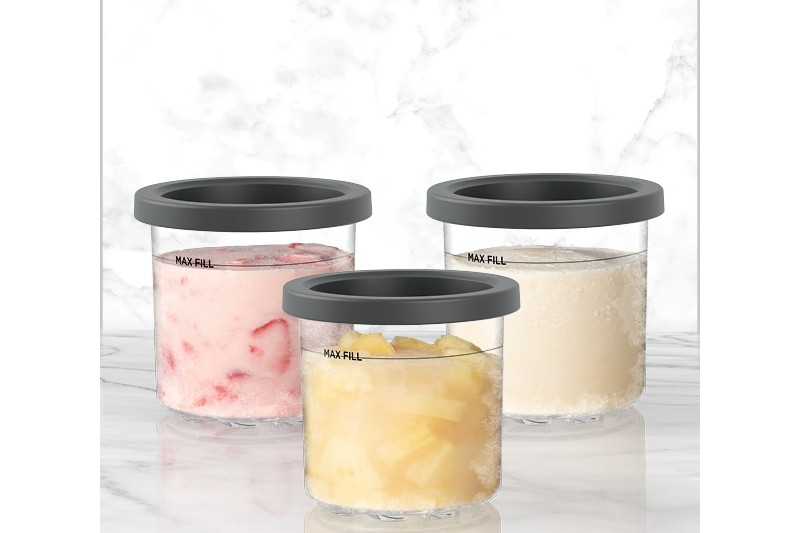
- Three 16 oz. CREAMi Pints with lids.
- Outer bowl and lid to hold the pint while processing.
- Recipe booklet with 30 recipes.
You can take the pints and make different flavors and just keep having them in rotation.
When I made my batches of ice cream, I used the recipe book that was included but you can find fall ice cream recipes online at Ninja Kitchens and you’re in luck because they have some of the best fall ice cream flavors that will be perfect right about now.
How Does the Ninja CREAMi Work?
The machine itself operates with dual drive motors which are independent of each other. One motor spins a paddle and the other moves the paddle up and down. The paddle is constructed of stainless steel and has four blades to either shave or mix ingredients.
There are 7 one-touch programs that allow you to create ice cream, sorbet, lite ice cream, gelato, milkshakes, smoothie bowls, or a button for mixing in additional ingredients.
How To Use the Ninja CREAMi in 5 Easy Steps

- Choose a recipe to make.
- Prep the base ingredients.
- Freeze. It is recommended to freeze the ingredients in the included pint storage containers for 24 hours.
- Once the frozen treat is sufficiently frozen, attach the blade to the locking lid, place the pint in the holder, place the lid on top and lock it in place.
- Choose the pre-programmed button and voila! In a matter of minutes, you will have incredibly smooth frozen treats.
Ninja CREAMi Hands-On Review
The two ice cream recipes I was slightly obsessed with were the Lemon Sorbet and the Triple Chocolate Gelato. I made them over and over and they were very easy. Of, course I tweaked the recipes slightly.
Lemon Sorbet Recipe
I had a bunch of fresh limes instead of lemons but you get the idea. The process was simple to follow and after 24 hours of freezing the mixture, I put the pint into the machine and selected the Sorbet button. After it was processed, I removed the pint from the machine and grabbed a spoon. It was smooth and creamy but felt a bit thick. I decided to put it back onto the machine and ran the process again. Perfect! It was light, smoother, and creamier than the first time through.
Triple Chocolate Gelato Recipe
The Triple Chocolate Gelato was similar to custard-based ice cream. Again, after following the recipe and freezing the mixture overnight, I placed it on the machine and selected the Gelato button. I didn’t have the chopped chocolate chips so I didn’t have any mix-ins. I just spun the ice cream twice and let me tell you! Not only was the gelato smooth and creamy, it was silky smooth. And delicious.
If you follow the recipes in the booklet, your ice cream will be amazing but if you spin it twice, you will have such a silky smooth texture that you won’t be able to stop making ice cream (or eating it).
Is the Ninja CREAMi Worth It?
If you like frozen treats and enjoy making them yourself, then yes. This ice cream maker and smoothie bowl maker can make the process quick and easy (aside from having to wait 24 hours). You can literally take anything and turn it into a frozen block and then use the ice cream machine to churn out a creamy texture of frozen delights.
For example, say you have a can of fruit in the pantry. Take the entire can and pour it fruit and juice into the pint, cover it, and freeze overnight. The next day, process it for a sweet and delectable sorbet, which is a vegan-friendly ice cream alternative.
Overall, the machine is less bulky than traditional bucket ice cream makers and can sit on a countertop. I have mine sitting next to the coffee maker. You never know when the mood strikes and I need to make some ice cream. Or gelato. Or a milkshake. Also, you can find machines similar to the Ninja CREAMi that sell in the thousands…yes, I said thousands.
The only con I can figure out is that you have to freeze everything at least 24 hours ahead of time. Maybe I need a blast freezer?
Where To Buy The Ninja CREAMi
The Ninja CREAMi can be purchased at local haunts; just make sure you price compare because prices do vary. If you’re in a hurry you can grab one in-store or if you can wait a few days, shop online for convenience. And if you’re looking for more great Ninja deals be sure to check out our Ninja deals page.
Editors' Recommendations
- The 6 Best Fall Ice Cream Flavors To Make
- A Beginner’s Guide to Ice Cream Making at Home
- The 9 Best Vegan Ice Creams to Satisfy Your Sweet Tooth
- Mooove Over Chocolate Chip, Because Steak and Bourbon Ice Cream is Now a Thing


